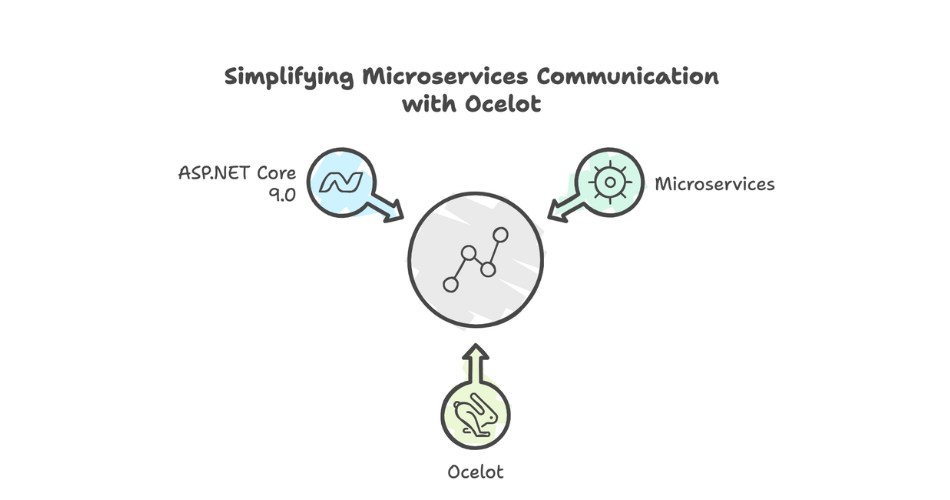
Introduction
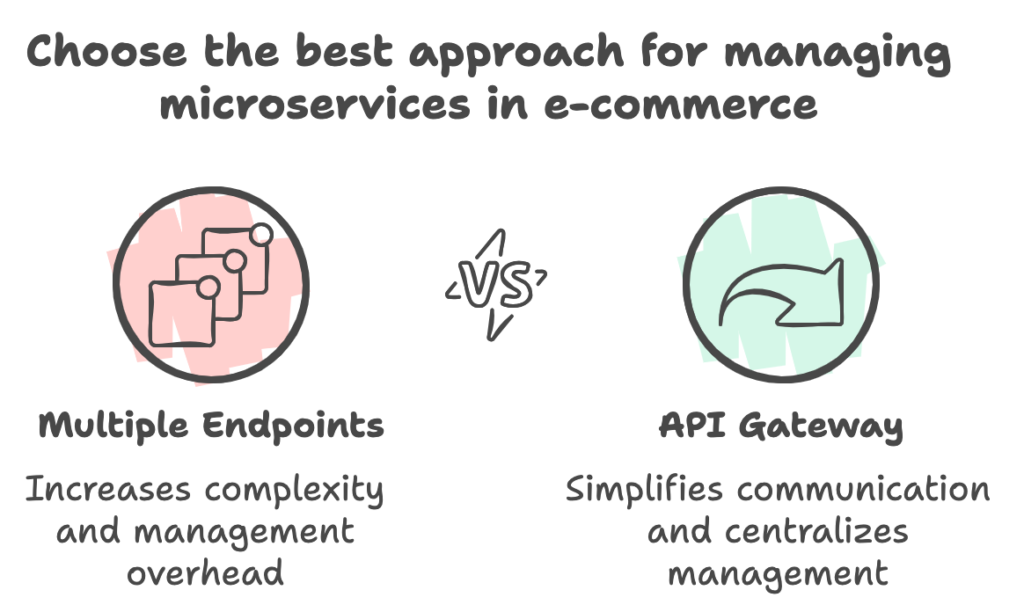
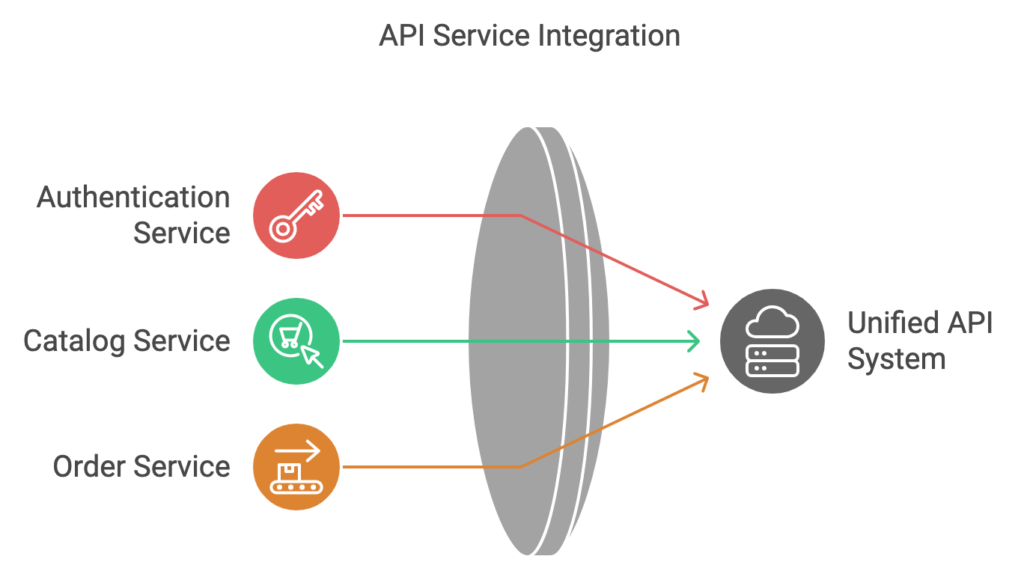
Managing multiple microservices in an e-commerce application, such as Authentication, Catalog, and Order services, can overwhelm consumers if they need to interact with multiple endpoints. Using an API Gateway like Ocelot, you can consolidate these endpoints into a single gateway URL, simplifying communication and centralizing management.
Solution Folder Structure
Maintain the same folder structure for your solution:
ecommerce-microservices/
│
├── src/
│   ├── services/
│   │   ├── AuthenticationService/
│   │   ├── CatalogService/
│   │   └── OrderService/
│   └── gateway/
│       ├── ApiGateway.csproj
│       ├── appsettings.json
│       ├── ocelot.json
│       └── Program.cs
├── tests/
│   ├── AuthenticationService.Tests/
│   ├── CatalogService.Tests/
│   ├── OrderService.Tests/
│   └── ApiGateway.Tests/
Setting Up Ocelot
1. Install the Required Package
Add the Ocelot NuGet package to your gateway project.
cd src/gateway
dotnet add package Ocelot
2. Configure Ocelot in ocelot.json
Create an ocelot.json file to define routes and downstream services.
{
  "Routes": [
    {
      "DownstreamPathTemplate": "/{everything}",
      "DownstreamScheme": "https",
      "DownstreamHostAndPorts": [
        { "Host": "localhost", "Port": 7000 }
      ],
      "UpstreamPathTemplate": "/auth/{everything}",
      "UpstreamHttpMethod": [ "GET", "POST", "PUT", "DELETE" ]
    },
    {
      "DownstreamPathTemplate": "/{everything}",
      "DownstreamScheme": "https",
      "DownstreamHostAndPorts": [
        { "Host": "localhost", "Port": 7001 }
      ],
      "UpstreamPathTemplate": "/catalog/{everything}",
      "UpstreamHttpMethod": [ "GET", "POST", "PUT", "DELETE" ]
    },
    {
      "DownstreamPathTemplate": "/{everything}",
      "DownstreamScheme": "https",
      "DownstreamHostAndPorts": [
        { "Host": "localhost", "Port": 7002 }
      ],
      "UpstreamPathTemplate": "/order/{everything}",
      "UpstreamHttpMethod": [ "GET", "POST", "PUT", "DELETE" ]
    }
  ],
  "GlobalConfiguration": {
    "BaseUrl": "https://api.yourdomain.com"
  }
}
3. Add Ocelot Configuration in Program.cs
Update Program.cs to use Ocelot middleware.
using Ocelot.DependencyInjection;
using Ocelot.Middleware;

var builder = WebApplication.CreateBuilder(args);

// Add Ocelot configuration
builder.Configuration.AddJsonFile("ocelot.json", optional: false, reloadOnChange: true);
builder.Services.AddOcelot();

var app = builder.Build();

// Use Ocelot middleware
await app.UseOcelot();

app.Run();
4. Deploy the Gateway
Once deployed, the API Gateway will handle requests and forward them to the appropriate services:
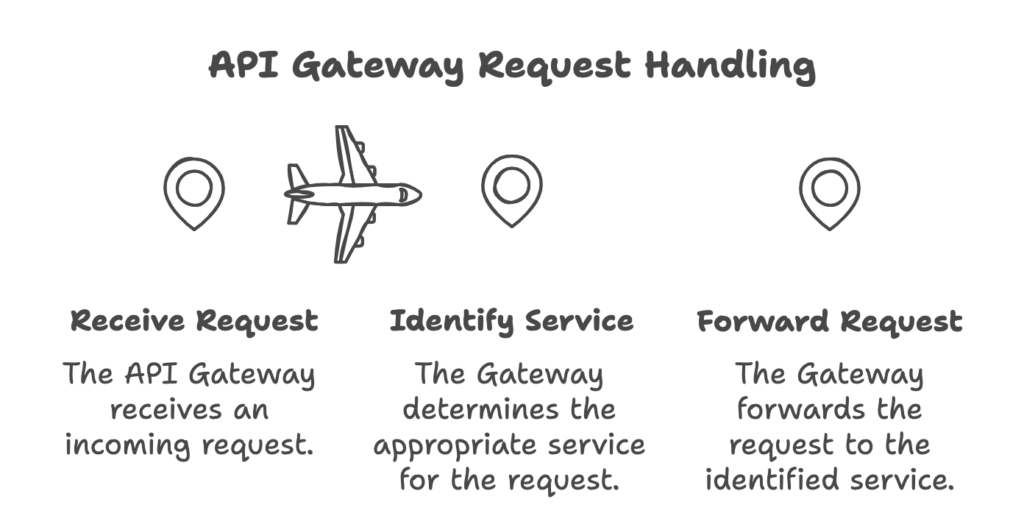
- Authentication Service:
https://api.yourdomain.com/auth - Catalog Service:
https://api.yourdomain.com/catalog - Order Service:
https://api.yourdomain.com/order
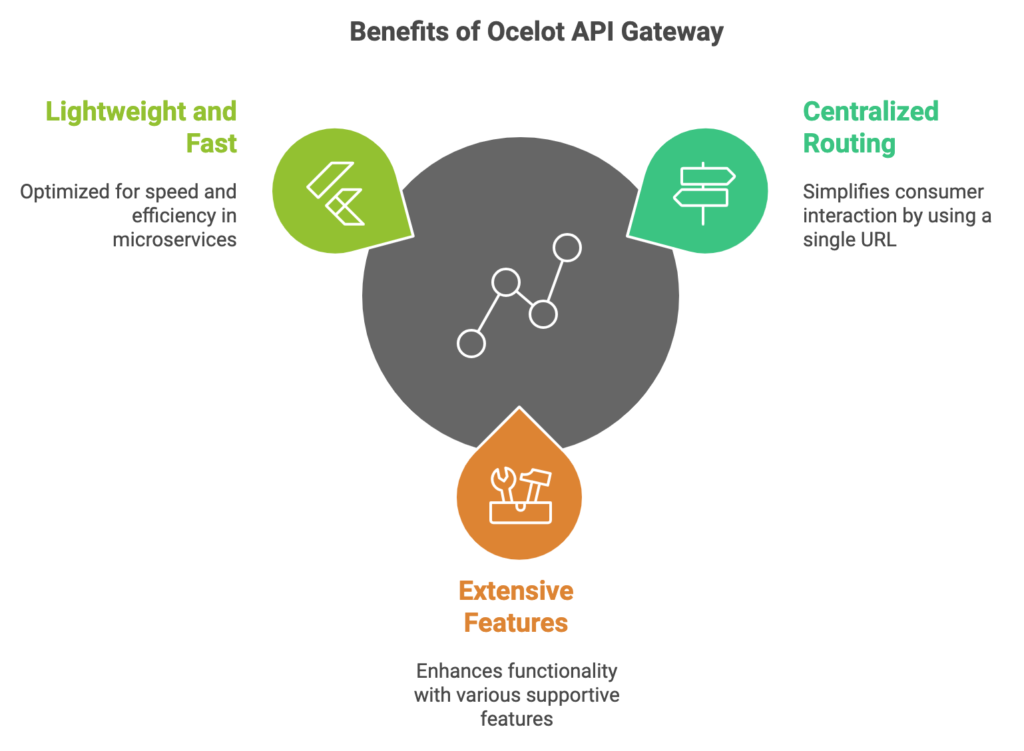
Benefits of Ocelot API Gateway
- Centralized Routing: Consumers only interact with the gateway’s URL.
- Extensive Features: Supports rate limiting, caching, load balancing, and more.
- Lightweight and Fast: Optimized for microservices-based architectures.
Advanced Ocelot Features
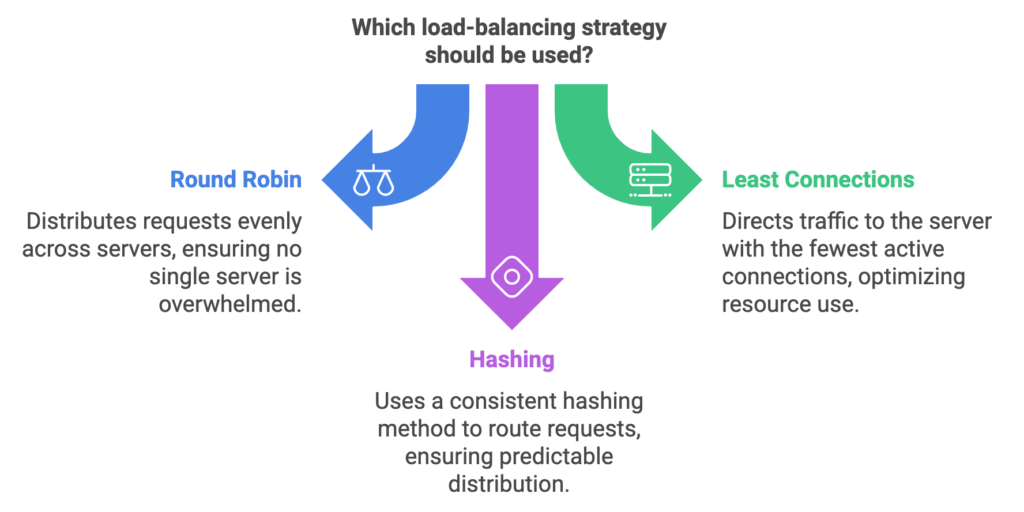
Load Balancing
Define load-balancing strategies in ocelot.json.
"LoadBalancerOptions": {
  "Type": "RoundRobin"
}
Authentication and Authorization
Ocelot supports JWT token validation and other authentication methods.
builder.Services.AddAuthentication("Bearer")
    .AddJwtBearer("Bearer", options =>
    {
        options.Authority = "https://your-identity-server";
        options.RequireHttpsMetadata = false;
        options.Audience = "api-gateway";
    });

app.UseAuthentication();
Request Transformation
Transform requests dynamically before sending them downstream.
"AddHeadersToRequest": {
  "X-Request-ID": "{TraceId}"
}
Conclusion
Switching to Ocelot as your API Gateway simplifies microservices communication and offers powerful features like load balancing, security, and scalability. By consolidating multiple service endpoints into one, you enhance both user experience and system manageability.
Would you like to explore additional customizations with Ocelot, such as caching or health checks? Let me know!
Learn how to streamline microservices communication with Ocelot in ASP.NET Core 9.0. This guide explores Ocelot’s features, API gateway configuration, and practical tips for efficient routing and performance optimization.